
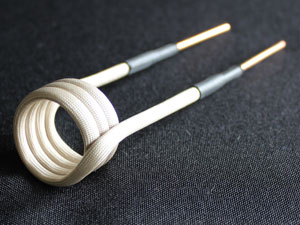
Induction heating coils, which transfer heat from our Mini-Ductor® tools to the objects being heated, are critical elements to the process of releasing rusted or seized hardware from corrosion and thread lock compounds.
Using induction heating coils correctly is essential for maximizing efficiency, ensuring safety, and prolonging their lifespan. Whether you’re utilizing a Mini-Ductor® or Inductor® Series induction heater, adhering to best practices guarantees optimal performance.
In this comprehensive guide, we’ll explore:
- What Are Induction Heating Coils? Understanding their function and importance.
- How to Install Induction Heating Coils Properly? Step-by-step instructions for safe installation.
- Best practices for usage, including tips to prevent damage and enhance efficiency.
- Recognizing signs of wear, tear, and when to replace your coils:
Let’s dive into the essentials of induction heating coil usage to ensure you get the most out of your equipment.
What Are Induction Heating Coils?
Induction heating coils are essential accessories to our lines of induction heating systems, which work by generating electromagnetic waves to heat up and expand magnetic metals. Coils are inserted into each unit and then wrapped or placed around a seized or corroded item, ideally without direct contact.
While the list of applications is endless, the goal is to free ferrous metal components that are otherwise stuck and unable to be removed. Our induction heating tools can also assist in releasing parts adhered to vehicles, such as windshields, graphics, and spray-in bedliners, by heating the metal beneath the item and breaking the bond of the adhesive.
The induction heating process is a precise, safe, and reliable method for removing rusted or corroded parts. Using induction heating tools can help avoid collateral damage and potential injuries caused by the traditional torch.
Because coils are a fundamental piece of the induction heating process, we encourage users to follow proper usage tips. Below, you will find our guide to best practices when using coils, how to choose the right one, the differences between them, and some tips for how to properly use and maintain your coils for the best results.
Don’t want to read all of this? Watch the video!
How to Install Induction Heating Coils
Proper installation of induction heating coils is crucial for efficient and safe operation. Follow these steps to ensure correct installation:
- Choose a coil that fits around the application with a small gap between the coil and the object to be heated. A closer fit (without touching) ensures faster and more efficient heating.
- Ensure the induction heater is turned off and unplugged before installing the coil.
- Access the Coil Ports: For models like the Mini-Ductor Venom® and Venom HP, turn the twist-lock to the unlocked position. For the Mini-Ductor II and 12V models, loosen the thumb screws simultaneously. For more information, see our Mini-Ductor Coil Guide.
- Insert the coil fully into the designated ports. Ensure they are pushed all the way in to establish a secure connection.
- Secure the coil. For the Mini-Ductor Venom® and Venom HP, turn the twist-lock to the locked position. For Mini-Ductor II and 12V, tighten both thumb screws simultaneously to secure the coil in place.
- Confirm that the coil is firmly in place and that there is no contact between the coil and the object to be heated, as direct contact can damage the coil insulation.
- Apply heat for 5-15 seconds and check if the application has loosened. If not, repeat the process until the desired result is achieved.
- Do not operate the unit unless the coil is securely locked in place.
- Last, but not least, always wear appropriate safety glasses when installing or using induction heating coils.
Induction Heating Coil Styles and Sizes
Pre-Formed
Induction Innovations carries over 30 different-sized coils to meet any need. Most of our coils are pre-formed, which means they are pre-molded into a specific size and shape. These coils will continue to hold that shape over their lifetime; however, you can also separate the leads to fit over an inline application without compromising the integrity of the coil.
Bearing Buddy®, the Flexible Coil
The Bearing Buddy is a flexible coil for wrapping around inline applications or other objects that are not accessible with our standard pre-formed coils. Though the Bearing Buddy wire is very flexible and will not hold a shape, it works just as efficiently as one of our pre-formed coils.
Induction Innovations offers two different-sized Bearing Buddy coils in 96” and 41”. We also offer a coil pack that includes both sizes plus a heat-resistant mat. The mat helps extend the coil life by protecting the insulation against fraying or abrasion caused by direct contact with hot metal.
For best results, wrap the mat around the application and then wrap the wire 3-4 times to get the magnetic field going. The more wraps, the better results you will see.
U-Form Coil
The 23″ U-form coil can be shaped or formed into any size you need! Similar to the pre-formed coil, the U form will hold its shape.
To create a coil, take a socket the size of the bolt you want to remove and wrap the U-form coil around the socket. Wrap the coil 3-4 times around the application for optimal performance.
3 Steps for Proper Induction Heating Coil Usage
Step 1: Find the right-size coil to fit your application.
Ensure you’re using the correct size and shape for your application. The induction heating coil should fit around the application with enough space to leave a small gap between the coil and the object to be heated. The closer the fit (without touching), the faster the unit will heat the bolt.
The coil sould be evenly wrapped around the workpiece to provide uniform heating. If your coil diameter is too large for the application, it may take longer to heat. If the coil is too small, it could burn the insulation and wear out your coil quickly. Direct coil contact withmetal can cause overheating and damage.
Step 2: Secure the coil in place.
Lock the coil using the twist-lock feature on the Mini-Ductor Venom® and Venom HP or the thumb screws if you’re using the Mini-Ductor II.
Note: The thumb screws must be turned at the same time to lock the coil in place.
See our coil guide for a step-by-step process.
Step 3: Apply heat for 5-20 seconds and see if you have loosened the application.
Use in short cycles over prolonged heating that can overwork the coil. Use in 5-20 second intervals. Repeat the process if the application remains seized until you can loosen it. These short cycles help protect the tool and the coils. In most cases, there is no need to heat the application red-hot as we do in our videos and live demos. We heat bolts to red hot to demonstrate the safe, precise, and reliable heat our products generate and the speed at which ferrous metals heat up with our tools.
When to Replace Induction Heating Coils
Even with proper care, induction heating coils wear out over time. Here are signs it’s time to replace your coil:
- Frayed or broken coil wires can disrupt heat transfer.
- If it takes longer to heat, the coil may fail, causing reduced heating efficiency.
- Overheating or burning smell may indicate insulation damage or internal failure.
- Coil deformation, bending or shape distortion affects heating performance.
Regularly inspecting your coils and replacing them as needed prevents equipment failure and maintains peak efficiency.
We offer a variety of replacement coils in different sizes. You can purchase them individually or in one of our many coil kits. We do not provide replacement insulation for coils and recommend replacing the entire coil if the insulation breaks. Purchase our coils through our online shop or your local tool distributor.
How to Recognize Signs of Normal Wear and Tear vs. Damage
After the first use, you may notice that the insulation of the coil will start to brown or darken; this is normal and continues with use. Following proper usage, a single coil should last between 200-300 uses.
Replace coils if you notice fraying, discoloration, or reduced efficiency. Using damaged induction heating coils can be extremely dangerous. Heating metal on metal can risk arcing and burning the unit out. Arcing can also cause the tool to spark, resulting in a fire hazard.
Choosing the Right Induction Heating Coil
Need help selecting the right coil? Check out these additional resources:
Understand the distinctions between specialty coil packs and regular coil kits, helping you determine the right tool for specific applications.
Get details on a comprehensive collection of 30 coils designed for various applications, providing versatility in heating and releasing seized hardware.
Shop Coil Packs & Kits
Many of our coil varieties are available in packs and kits. Shop the following coil packs and kits or select individual coils for purchase:
- Standard Coil Kit
- Essential Coil Kit
- Long Coil Kit
- Thin Wall Coil Pack
- Bearing Buddy Coil Pack
- Coil Variety Pack
FAQs About Induction Heating Coils
How do I know if I’m using the right induction heating coil?
A properly selected coil will fit snugly around the workpiece without excessive gaps, ensuring efficient heating.
What causes induction heating coils to fail?
Excessive contact with metal, overheating, and prolonged use without cooldown periods can shorten coil life.
Can I extend the lifespan of my induction heating coil?
Yes! Avoid metal contact, use short heating cycles, and store coils properly when not in use.
How often should I replace my induction heating coil?
It depends on usage but regularly inspect for signs of wear like fraying or reduced efficiency.
Summary & Final Tips
Using induction heating coils correctly is key to getting the most out of your Mini-Ductor® or Inductor® Series induction heater. Proper coil care not only extends the lifespan of the coil but also ensures safety and optimal performance.
By selecting the right coil, following best practices, and monitoring for signs of wear, you can maximize efficiency while reducing downtime. Whether you’re working on automotive repairs, manufacturing, or heavy equipment maintenance, induction heating is a game-changer for safe and effective heat application.
March 14, 2025
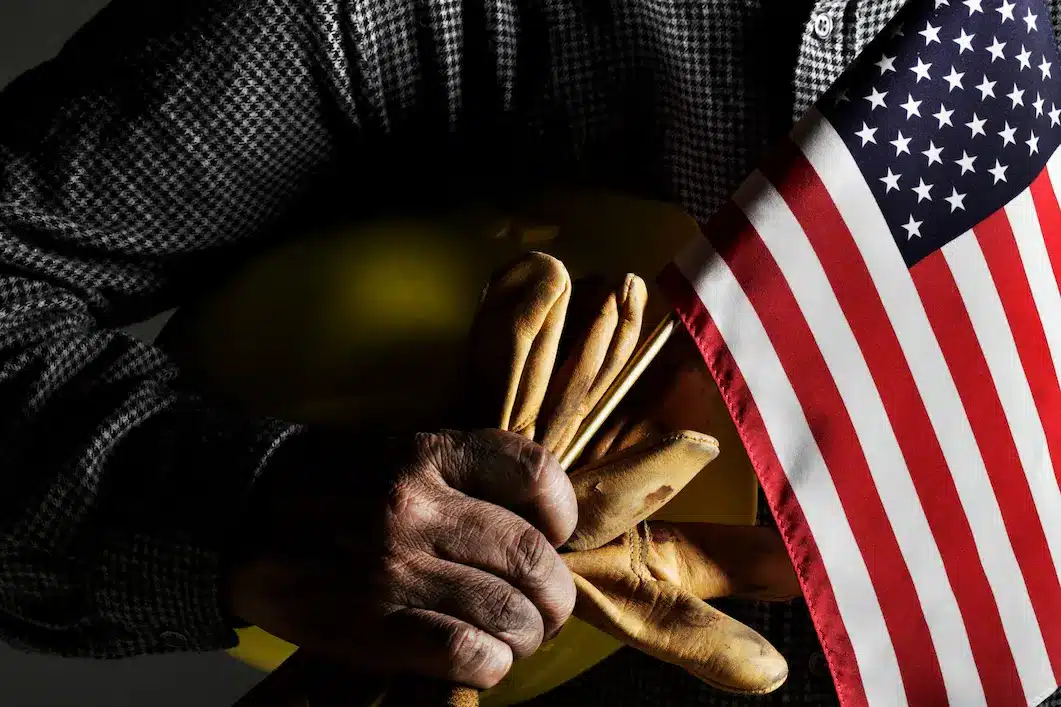
The Benefits of Buying American-Made Induction Innovations Products
When you choose American-made induction heating tools from Induction Innovations, you’re not just purchasing a…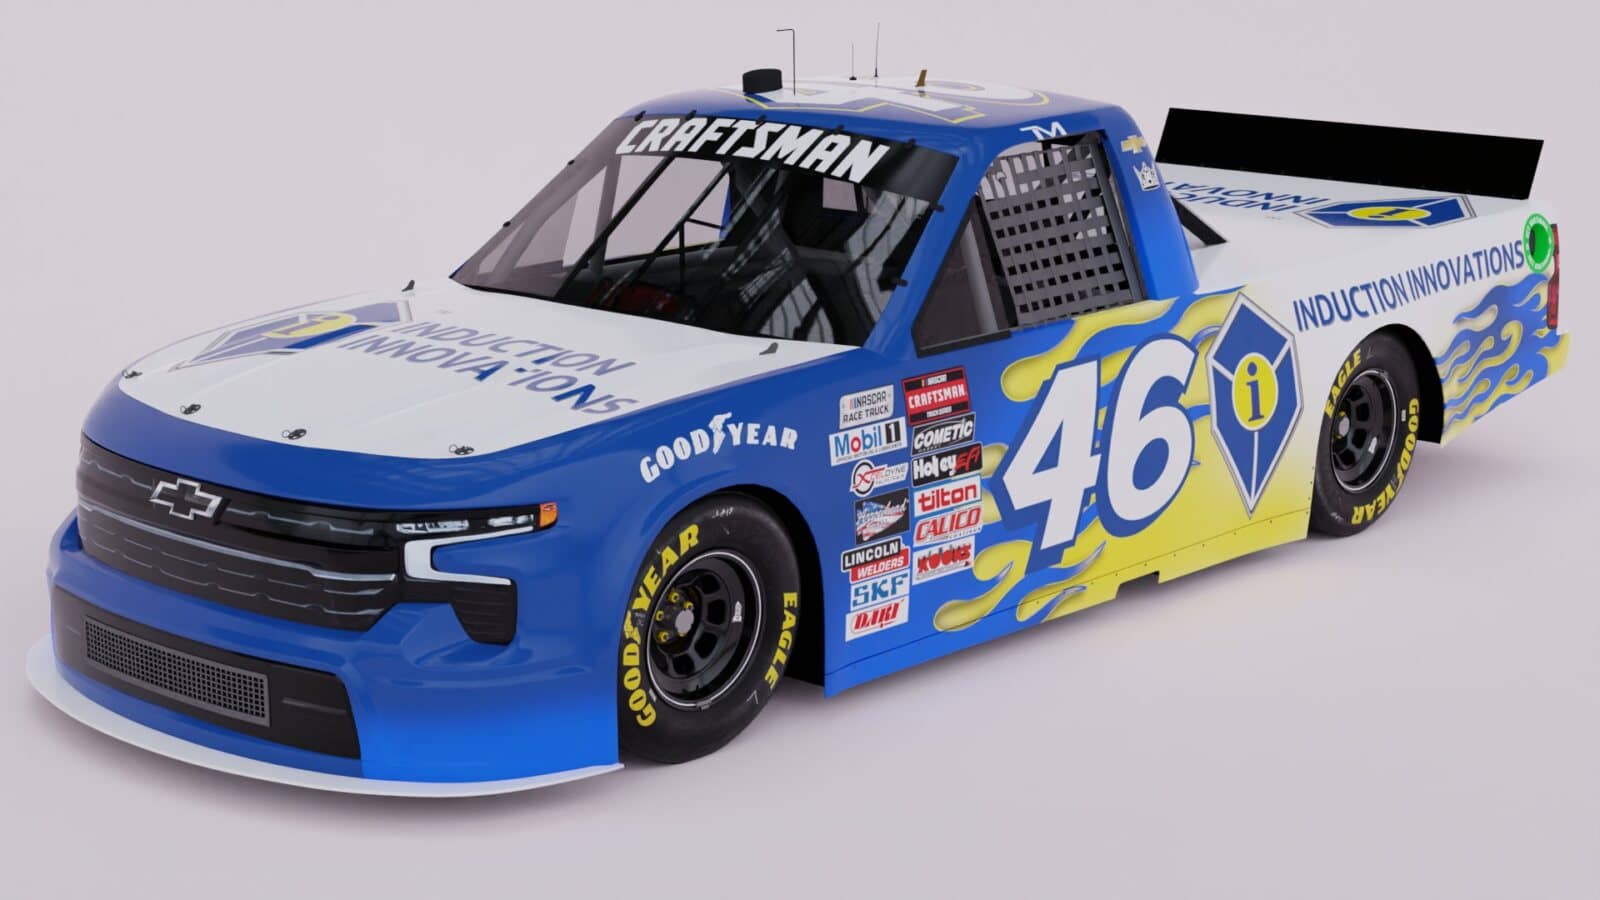
April 16, 2024
Induction Innovations NASCAR Sponsorship
All of us at Induction Innovations are thrilled to announce a partnership with Thad Moffitt,…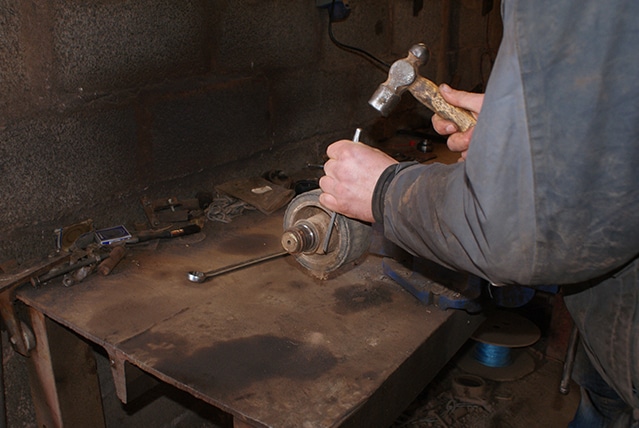
November 29, 2023
Understanding Specialty Coil Packs vs Regular Coil Kits in Induction Heating
Induction heating, a process used in various industries for efficiency and precision, utilizes coil kits…
October 18, 2023
Pink Together, Stronger Forever
Induction Innovations is honored to sponsor and support Sadie Turner in the Pink Ribbon Riders…
